Case making
for the ultrasonic alarm(1)
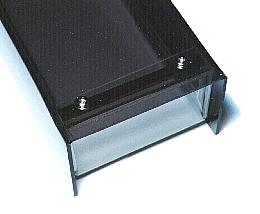
I will introduce the way of making the case which used the acrylic board on this page. I used "Bending apparatus-2" to bend the acrylic board.  (1) to (8) shows the order to bend.  The bottom The bottom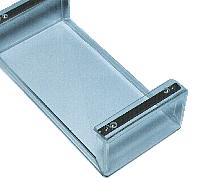 I made the front panel, the back panel and a cover installation part, using Bending apparatus-2. The after work is easy when bending a cover installation part first. The cover fixation metal fittings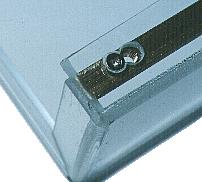 I made the cover installation metal fittings using the brass board with the 6-mm width, the 3-mm thickness. The metal fittings are fixed on the cover installation part with the plate screw of 2 mm. I used the 3 mm screws for the fixation of the cover. The cover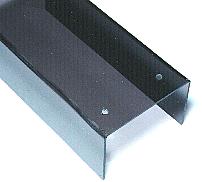 I made a cover after making the bottom. The cover is bent according to the size of the bottom. To make length on either side the same, I was cut after the bend of the cover was ended. The front panel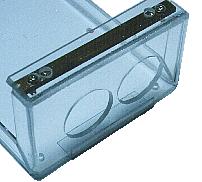 I made holes to install the sound horns at the front panel. The tip of the horn makes go out of the front panel by about 5 mm. When I was opening the hole of the back panel, the excessive power was gained and the part of the connection between the front panel and the bottom board had broken. I repaired with the thin acrylic board and the acrylic glue. 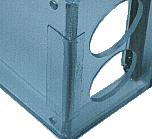 The back panel The back panel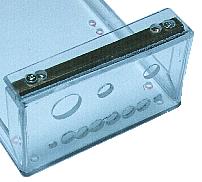 I put a variable resistor for the detection range adjustment, the LED for the detection confirmation, an output terminal and a power supply connector to the back panel. I made the holes according to the size of each part. I put a back panel sheet together when installing the parts. The bottom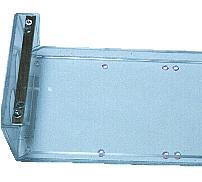 The detection unit is put to the bottom. The holes are opened according to the position of the stud.  The case was made by the above process. |